
Prepare your keywords and ad copy
Build a correctly formatted spreadsheet before touching Google Ads Editor
Everything starts with a well-structured spreadsheet. Google Ads Editor imports data from CSV files with specific column names — getting these right before you open the tool saves significant time and prevents import errors.
Open a spreadsheet
Open a new spreadsheet in Google Sheets or Excel. You'll create two separate tabs — one for keywords and one for ad copy. Keep them separate to avoid confusion during import.
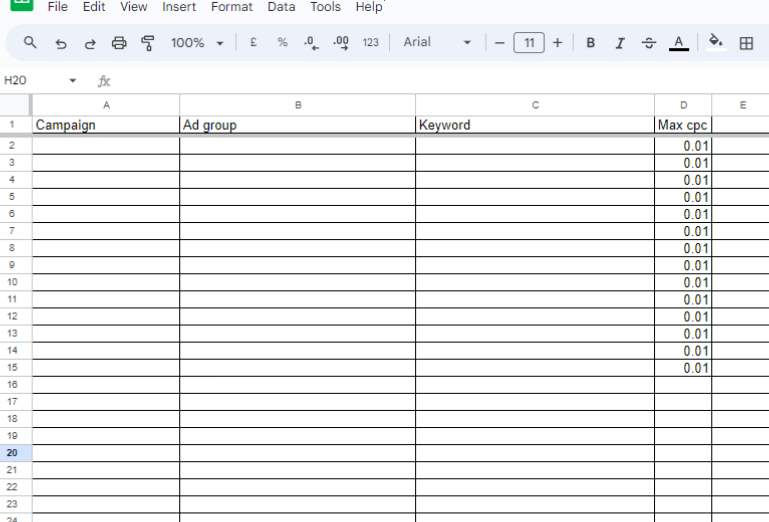
Format keywords
Your keywords sheet needs these columns in the correct format. Column names must match exactly as Google Ads Editor expects them:
- Campaign Name — must match your existing campaign name exactly
- Ad Group Name — the ad group the keyword belongs to
- Keyword — the keyword text
- Match Type — Broad, Phrase, or Exact
- Status — Enabled or Paused
- Max CPC — optional bid at keyword level
Column headers are case-sensitive in some import flows. Use the exact names shown above and avoid extra spaces. Download a template from Google Ads Editor's import screen if unsure.
Format ad copy
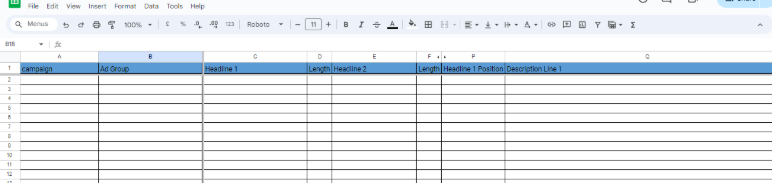
Create a separate tab for your ads. Responsive Search Ads require specific columns with strict character limits — exceed them and the import will reject those rows.
- Campaign Name
- Ad Group Name
- Headline 1, 2, and 3 — max 30 characters each
- Description 1 and 2 — max 90 characters each
- Final URL — the destination landing page URL
- Display URL Path 1 & 2
Download campaigns from Google Ads
Sync your live account data into Google Ads Editor
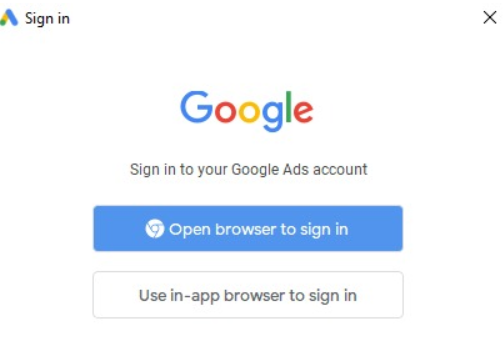
Sign in
Click Sign in to Google Ads Editor and authenticate with the Google account that has access to your Google Ads account.
Select your account
If you manage multiple accounts, a list will appear after sign-in. Select the correct account you want to work on. Verify the account name before proceeding.

Download campaign data
Click "Download all campaigns" or select specific campaigns to download. This syncs all your existing campaign structure — campaigns, ad groups, keywords, and ads — into the Editor so you can work offline.

Verify Data
Once downloaded, browse through your campaigns in the left-hand panel to confirm the structure looks correct. Check that campaign names match exactly what you used in your spreadsheet — any mismatch will cause import errors later.
Upload keywords in Google Ads Editor
Import your keyword spreadsheet and review before applying
Prepare for import
Import keywords
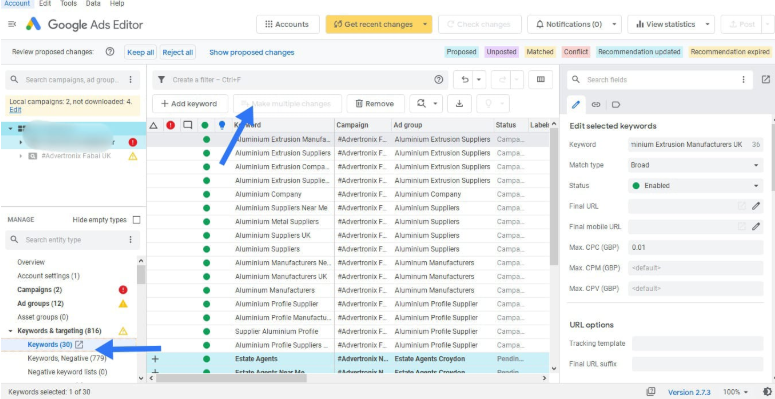
Click "Make Multiple Changes" → "Add/update multiple keywords". Paste your CSV data or select your file. The Editor will map your columns to the correct fields automatically.
If Editor doesn't auto-map your columns, use the dropdown next to each column header to manually assign the correct field. Check every column before proceeding.
Review and apply changes
After import, the Editor shows a summary of proposed changes — new keywords added, existing ones updated, and any errors. Review all errors carefully and fix them in your spreadsheet before re-importing if needed.
Check Successful rows — these will be applied
Check Failed rows — fix errors in your CSV and re-import
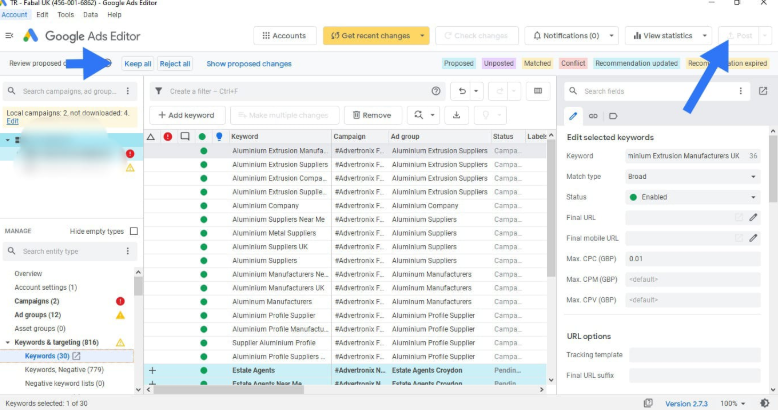
Once satisfied, click Keep to stage the changes. They are not yet live — you'll post everything together after uploading ad copy.
Save and Continue
Save the action and copy your Conversion ID and Label for GTM configuration.
Upload ad copy in Google Ads Editor
Import your ads spreadsheet, review, then post everything live
Prepare for import
Save your ad copy tab as a separate .csv file. Double-check that all headlines are under 30 characters and descriptions under 90 — the Editor will reject rows that exceed limits.
Confirm all Final URLs are live and resolve correctly. Importing ads with broken destination URLs will cause them to be disapproved by Google after posting.
Import ads
Go to "Make Multiple Changes" → "Add/update multiple ads". Select your ad copy CSV file and map the columns as before. The Editor will preview the ads as they'll appear in Google search results.
Review and apply changes
Review the changes summary. Fix any errors, then click Keep to stage the ad changes alongside your keywords. When everything looks correct, click Post Changes to push all staged changes live to Google Ads simultaneously.
- Review errors in the changes panel
- Click Keep to confirm staged changes
- Click Post Changes to go live

Save and Continue
Save the action. You now have your conversion actions set up in Google Ads. Copy the Conversion ID and Label — you'll paste these into GTM tags next.